Conseils de tous les jours pour les couches
Changer les couches
5 minutes Lire

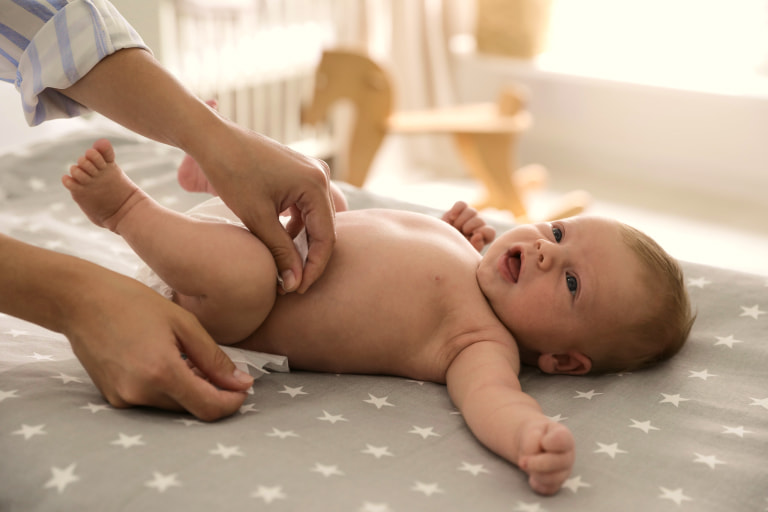
Il est important de choisir un endroit sécuritaire pour changer les couches de votre petit ange. Même attaché à une table à langer à l’aide d’une sangle, bébé peut tomber à force de se gigoter. Il est donc essentiel de poser une main sur lui en tout temps. Nous avons installé un mobile au-dessus de la table à langer pour distraire notre tout-petit pendant les changements de couche.
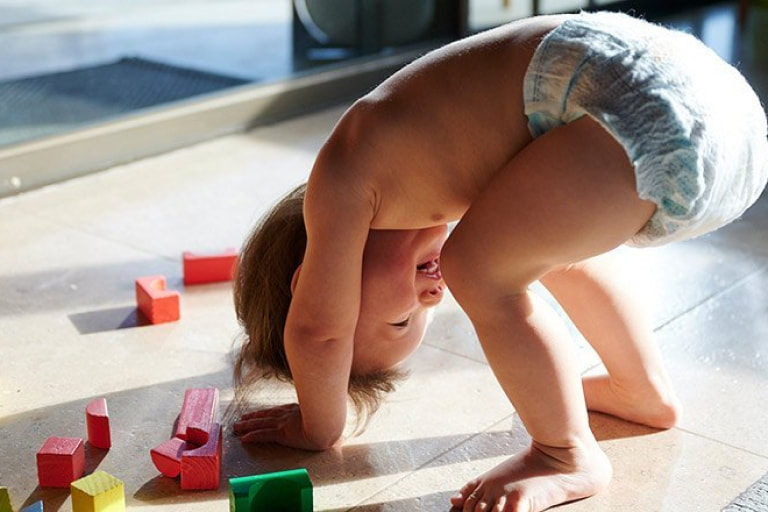
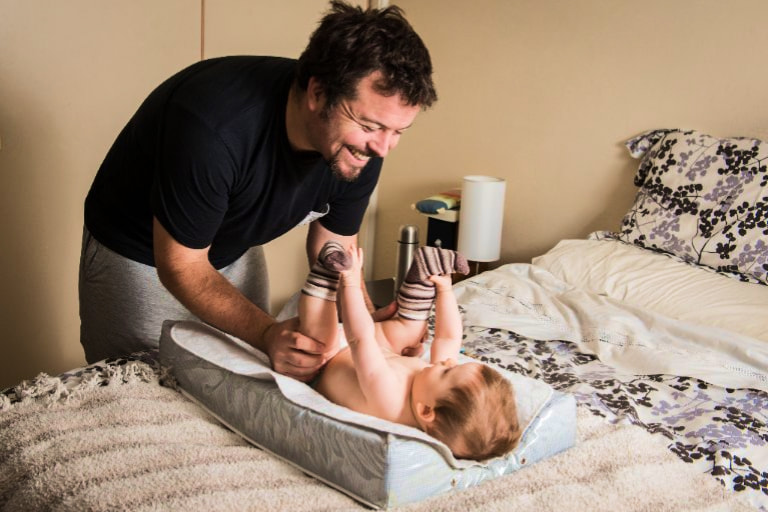
Sur une section de la moquette, nous gardons un matelas à langer et tout le nécessaire pour changer les couches. De cette manière, je n’ai pas à m’inquiéter des chutes lorsque je change ma petite acrobate en herbe.
Avant de changer la couche, c’est une bonne idée d’avoir tout ce dont vous avez besoin à portée de la main, mais hors de la portée de bébé.
Checklist:
- Clean diapers (a few, just in case a tab rips off or it gets dirty immediately)
- Diaper wipes
- Diaper disposal unit (diaper pail, Diaper Genie, trash can or bag)
- Diaper cream (optional)
Step by step
Here are my diapering tips, one step at a time.- Make sure that your hands are clean.
- If you're changing baby in a store's changing station or even in the car, have a cloth down under the little one... just in case.
- Undo the pins/diaper cover (if you're using cloth diapers) or unfasten the tapes on the disposable diaper.
- Check and see the contents of the diaper. If it's especially messy, I like to have a few extra wipes (or a cloth) standing by.
- If there's a bowel movement, use the front of the diaper to pull the mess towards the baby's bottom. Then fold the front part over the back, keeping the bowel movement inside so that the baby's bottom rests on the outside of the front of the diaper.
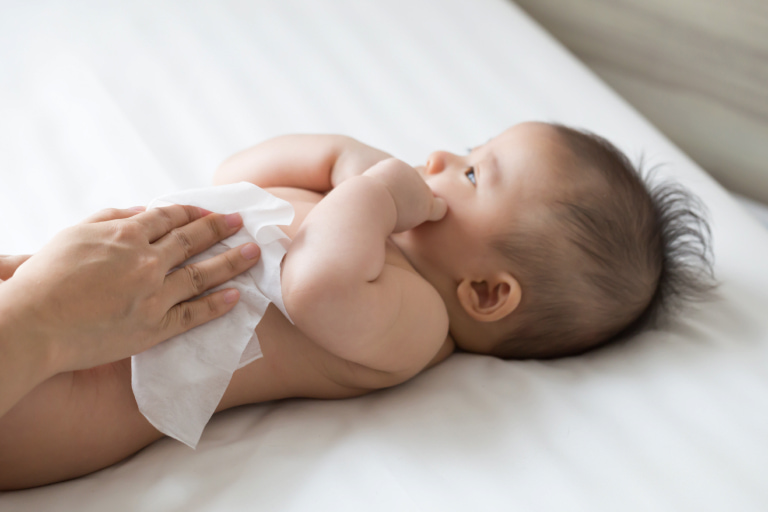
- Next, cleanse the diaper area, taking care to clean all the folds and moving the mess towards the baby's bottom. (Always wipe girls front to back only to avoid UTIs and other infections.) If you're changing a baby boy, you'll want to protect yourself, and other onlookers, by keeping a diaper (or cloth) over the baby's penis. You never know when nature will call, and sometimes cooler outside air will trigger the need!
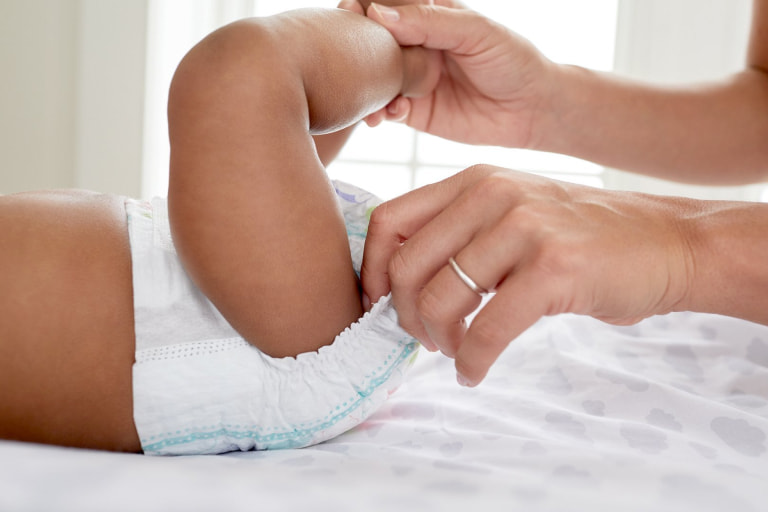
- With one hand, hold your baby gently near the ankles, and lift up the baby's legs to clean the baby's bottom. Again, making sure to keep a diaper covering the baby boy's penis.
- Apply ointment if necessary and check for redness (or chafing or the area where one of the diaper tabs may have rubbed and reddened the baby's skin).
- To put on a new diaper, lift the baby up so that you can slip that new diaper right under the baby's behind. This is easily accomplished by gently holding the baby by the ankles with one hand, and sliding the back of the diaper (for those of you using disposable diapers, the back of the diaper is the side with the tabs and no decoration).
- Next, fasten the tabs to the decorated strip on the front of the disposable diaper. Remember not to make it too tight, and make sure that you position the tapes so that they don't contact the baby's skin. If you're using cloth diapers, pin the corners together by using safety pins and placing your fingers between the diaper and the baby to keep baby from getting poked.
- Check and make sure that the diaper covers the baby's behind fully and isn't too tight on the legs or stomach area. Make sure the edges of the diaper haven't been tucked under.
- Dispose of the soiled diaper and wash your hands.
- Now you're ready to get your little one dressed!